If you’re building a deck, there’s a good chance the part of your project most likely to fail isn’t the deck itself — it’s the ledger board that attaches it to your house.
Building code requires that ledger board to connect directly to your home’s rim joist. That’s not optional — it’s how the deck’s structural load gets transferred safely into the house. But that same direct connection is also the #1 cause of hidden rot and water damage where a deck meets a home. Moisture gets trapped behind the ledger, the rim joist rots from the inside, and homeowners often don’t find out until the deck is already failing.
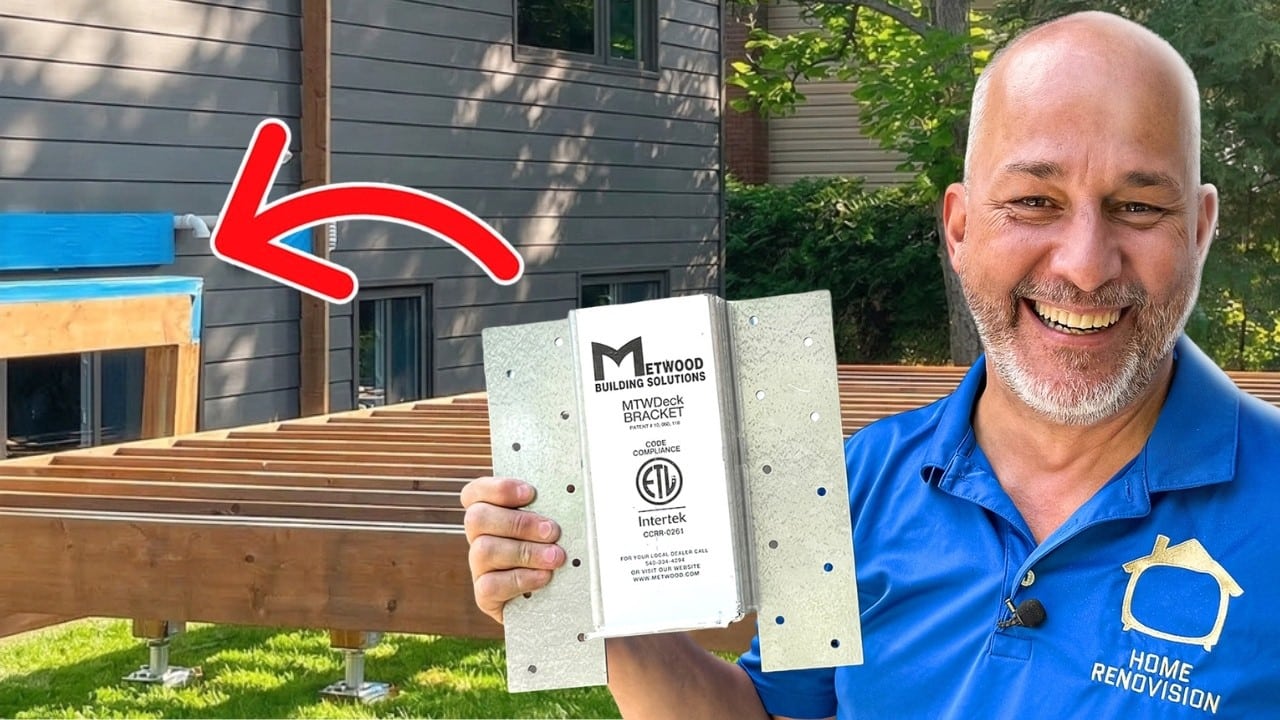
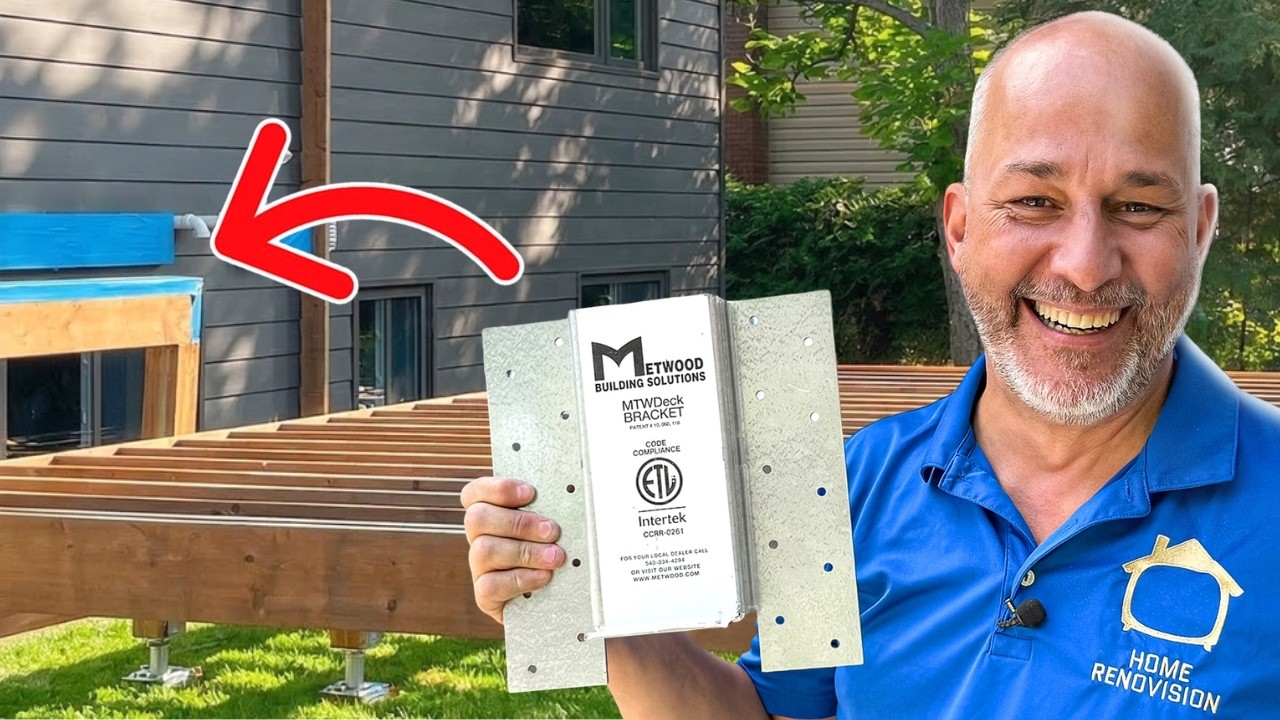
Popular home renovation YouTuber Home RenoVision DIY (4.25M subscribers) tackled this exact problem in his video “How to Build a Deck That Lasts 50+ Years.” In it, he walks through how to install a deck ledger the right way — so it won’t fail or rot over time — and features Metwood’s MTWDeck Bracket as part of that process, holding it up on camera and pointing directly to its ICC-ES code compliance mark.
Why this matters
Most deck ledger failures don’t happen because someone skipped a step — they happen because the code-required direct attachment method traps moisture against the house for years before anyone notices. By the time rot is visible, the fix usually means tearing into the siding or veneer and replacing structural framing, not just the deck.
How the MTWDeck Bracket solves it
The MTWDeck Bracket is cold-formed from 10-gauge steel with an ASTM A653-G90 protective coating, and it’s engineered to give the ledger board a code-compliant connection to the house without leaving the kind of hidden moisture trap that rots a rim joist from the inside. Installation is straightforward: the bracket attaches to the house’s rim joist with 20 fasteners, and the deck ledger attaches to the bracket separately with 6 self-drilling fasteners — two distinct connections instead of one direct, moisture-trapping attachment.
It comes in two versions, so it works with whatever’s already on your house:
- MTWDeck Bracket — for homes with brick, stone, or other masonry veneer. The veneer gets installed around the bracket, so you get a clean, code-compliant ledger connection without disturbing the masonry.
- MTWDeck Bracket 1.5 — for homes with vinyl, fiber cement, or other siding and cladding. Same code-compliant connection, built for a different exterior.
Both are backed by third-party code compliance research (CCRR-0261, evaluated against the 2015, 2018, and 2021 IBC and IRC), so builders and inspectors both know exactly what they’re looking at. And as with any deck ledger installation — bracket or not — proper flashing is still required to keep water off the band joist, which is exactly the kind of detail this video walks through in full.
The takeaway
Whether you’re a DIYer planning your first deck or a contractor who’s seen one too many rotten rim joists, the lesson from this video is the same: how you attach the ledger board matters as much as anything else in the build. Thanks to Home RenoVision DIY for digging into it and showing exactly how it’s done.
Want to see the MTWDeck Bracket up close? View our deck brackets →